 | |
|---|---|
|
Joi Mai 21, 2026
|
| |
|---|
Light Blast Text |
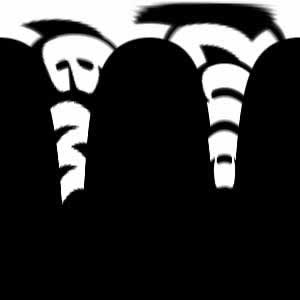
1. Create a 500x500 image in photoshop and make the background Black.  |
2. Here comes the fun part! Select layer "Light2" and go Filter -> Distort -> Polar Coordinates and choose Polar to Rectangular
|
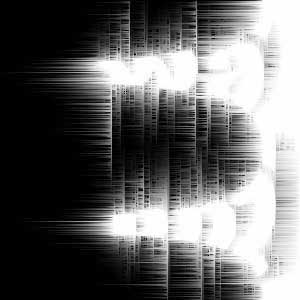
3. Go to Filter -> Stylize -> Wind and choose Wind for the method and From the right for the Direction. Press CTRL-F.
|
4. Go to Image -> Rotate Canvas -> 90 CW
|
5. Go to Image -> Rotate Canvas -> 90 CCW
|
6. Looks cool doesn't it? Now, Select the Text tool and write the text you first started with. Color it a different color and move it over the white! Voila! You are done!
|
7. Optional: Add color to your Light2 to make it look even cooler!
|
| Copyright © 2003-2004 by N-sane Art, all rights reserved |